

Think you can put off customer support until after you launch? Many founders do. They figure they'll just handle the first few emails from their personal inbox. What could go wrong?
But that first support ticket can land much faster than you think, and fumbling the response costs you more than a single sale. You can actually launch with customer support on day one using a simple, semi-automated system. With tools you probably already use—like Notion, Gmail, and Zapier—you can get a powerful AI helpdesk running in an afternoon.

Here’s a scenario I’ve seen play out too many times: Your first-ever customer has a payment issue. Their email gets buried under a mountain of launch notifications and vendor receipts in your inbox. By the time you spot it, they’ve already left a one-star review calling your new venture a scam.
It’s not hypothetical. This is the reality for countless startups that underestimate just how crucial a structured support process is right from the start.
Wingin' it doesn't just look unprofessional—it actively hurts your business. Without a central hub for queries, you have no way to track issues, spot patterns, or make sure every customer gets a timely, consistent reply. This initial chaos creates a foundation of poor service that’s incredibly difficult to come back from.
Building a simple helpdesk isn't about bracing for a flood of tickets you don't have yet. It’s about building the right habits from the get-go. It shows your early adopters you're organised, reliable, and genuinely care about their success. That's how you build loyalty and get people talking.
If you're still mapping out the basics, our comprehensive guide on https://www.gentax.uk/blog/how-to-start-a-business-uk-guide can help you lay the right groundwork.
Having a system in place lets you punch well above your weight. A solo founder with an automated helpdesk can appear just as responsive and organised as a much larger company, building that all-important trust when it matters most.
Today’s customers expect fast, helpful service. This is especially true in the UK's booming eCommerce market, where online sales now account for over 27% of all retail transactions. With 67% of UK shoppers expecting a response within just two hours, trying to manage support manually is a losing game.
It’s no surprise that retailers using automated workflows have reported 40% fewer complaints during busy periods. The value of having a system is crystal clear.
For a deeper dive into what an AI helpdesk can do for you, Your Guide to an AI Help Desk for SaaS Startups is a fantastic resource. It really drives home how a small investment of your time now will pay off massively down the line.
Before we start building, let’s get our digital workspace in order. This is more than just signing up for a few accounts; it’s about setting each tool up for its specific job in our new AI helpdesk. The best part? You can get all of this sorted without spending a penny.
Think of this as a quick pre-flight check. Getting these small details right now will save you from those frustrating little errors that can completely derail an afternoon project. A few minutes of prep now means a much smoother build later on.
The real beauty of this system is its simplicity. We’re just connecting three powerful, user-friendly tools that happen to work brilliantly together. Each one has a clear and vital role in turning a customer email into a neatly organised support ticket.
support@yourcompany.com) and create a specific label that acts as the trigger for all the magic.With just these three, you’ll have a setup that can honestly rival some of the paid helpdesk platforms out there. It’s a lean, effective system designed to keep your startup organised from the very first customer email.
This no-code approach is perfect for early-stage startups. You get the functionality of a professional support system without the complexity or cost, allowing you to focus on what matters most: your customers and your product.
Before you roll up your sleeves, here’s a quick summary of the tools you’ll need and the one key action to take for each. Getting this done now will make the next steps a breeze.
With those quick tasks ticked off, your digital workspace is prepped and ready for action.
Taking a couple of minutes to get each tool ready now will save you a world of headaches later.
First up, head into Gmail and create that new label we just mentioned: "Support Ticket." This simple label is the secret sauce; it’s how we’ll tell Zapier exactly which emails to grab, filtering out all the other noise in your inbox.
Next, jump over to your Notion account. Create a new page and give it the title "Customer Support Hub." It’s just a blank canvas for now, so don't worry about adding columns or properties yet. Just having the page ready is all we need.
Finally, while you’re organising your customer support, it’s a good time to think about the financial side of your startup. Keeping your books in order from day one is just as important. For some great insights, check out our guide on the best cloud accounting software for startups. It'll help you build a solid financial foundation to go with your new support system.
With your toolkit assembled and accounts ready, you're all set to start building.
Your Notion page is about to become the central nervous system for your entire customer support operation. Forget messy spreadsheets or scattered notes; think of this as your command centre, where every customer interaction is logged, tracked, and ultimately, resolved. We're starting with a blank page and building a robust database that brings a sense of calm to the chaos of incoming queries.
The goal isn't to create something complicated. We're designing a dynamic system that gives you an instant, visual overview of every support ticket. It needs to be powerful enough to handle everything you throw at it, but simple enough to manage when you’re the one wearing all the hats.
First things first, let's turn that blank "Customer Support Hub" page into a database. Just type /database on the page and pick the inline option. This keeps everything clean and contained. Now for the fun part: adding the properties. These are the columns that will organise every piece of information that flows in.
Here are the absolute must-haves you’ll need to add:
New, In Progress, and Resolved. Go ahead and colour-code them – it makes glancing at your workload so much easier.High, Medium, and Low so you can immediately see what needs your attention first.Billing Issue, Technical Question, and Feedback. You can always add more as you go.These properties are the backbone of your new helpdesk. They ensure that every time Zapier fires an email over, it lands in a perfectly structured record, ready for you to get to work. Getting your data organised from the get-go is the first real step in any successful https://www.gentax.uk/services/technology-transformation.
A database full of raw data isn't much help on its own. You need to be able to make sense of it quickly. This is where Notion’s views are a game-changer. A standard table view is fine, but a Kanban board transforms your ticket list into a living, breathing workflow.
Click to create a new view and select the Board layout. The magic happens when you set it to group by the Status property you just created. Instantly, your tickets will pop into columns for New, In Progress, and Resolved. Now, moving a ticket through your process is as simple as dragging and dropping it. It's a visual and incredibly satisfying way to see your progress.
A well-structured Kanban view isn't just about organisation; it's about momentum. Visually moving a ticket from 'New' to 'Resolved' provides a tangible sense of progress that a simple checklist can't match.
To get you up and running even faster, here's a simple structure I've used time and again. Beyond the core fields we've covered, I strongly recommend adding these for extra context:
If you're looking to really dig in and explore what's possible, this article on Notion AI integration is a great resource for taking things to the next level.
With this structure in place, your Notion hub is officially ready and waiting to receive its first automated ticket.
With your Notion hub built and ready to go, it’s time to connect the dots. This is where Zapier steps in, acting as the digital courier that tirelessly shuttles information from your inbox directly into your new, organised support database. We're about to build the automated workflow, or "Zap," that makes this entire system tick.
The process is surprisingly straightforward. We'll tell Zapier to watch your Gmail account for a specific trigger, then instruct it on exactly what to do when that trigger fires. The goal is a rock-solid connection that instantly creates a perfectly structured ticket in Notion the moment a customer email lands.
The first part of any Zap is the trigger—the event that kicks the whole process off. In our case, that’s a new email arriving in Gmail that has our special "Support Ticket" label.
Why a label? Using a label is far more effective than just watching for any new email. It filters out all the noise and ensures only genuine support queries start the workflow.
When you create your Zap, you’ll select Gmail as the trigger app and "New Labeled Email" as the event. After connecting your Gmail account, you'll be prompted to choose the "Support Ticket" label from the dropdown menu. This simple step is the foundation of the entire automation.
Now, any email you manually apply that label to (or any email automatically filtered by your Gmail rules) will get picked up by Zapier. This gives you precise control over what enters your support hub.
Once the trigger is set, you need to define the action. This is where you tell Zapier to create a new item in your Notion database. After selecting Notion as your action app and choosing "Create Database Item," you'll be presented with all the properties you so carefully set up in your "Customer Support Hub."
This next bit is the most crucial: the mapping. You’ll see fields corresponding to each of your Notion properties (Status, Priority, Customer Email, etc.). Your job is to pull in the dynamic data from the incoming email to populate these fields.
It looks something like this:
Subject field from the Gmail trigger.From Email field.Body Plain field to capture the email's content.For properties like Status and Priority, you can set a default value. For instance, you can hard-code the Status to "New" so every incoming ticket is automatically categorised correctly right from the start.
This infographic gives you a high-level view of the process, from establishing the database to defining properties and creating views.
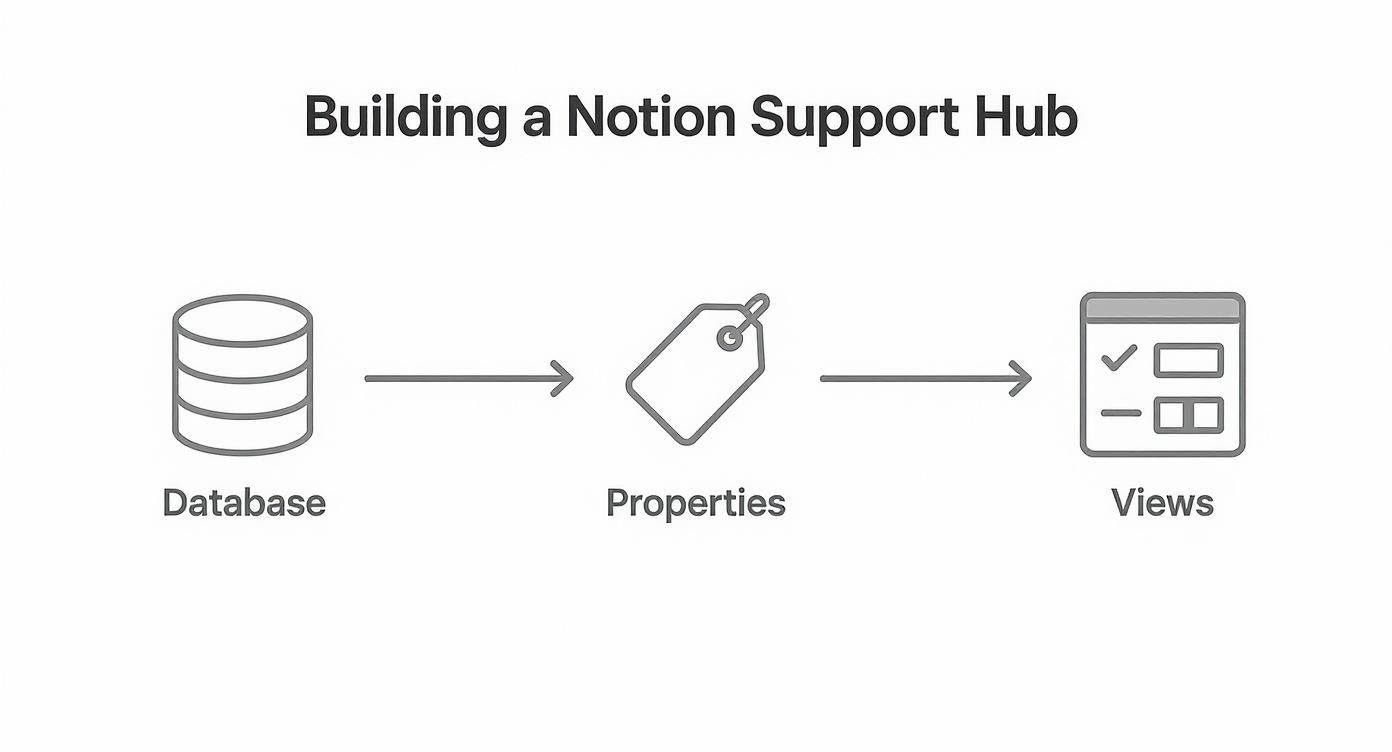
As the graphic shows, a structured foundation in Notion is essential before you even think about automating in Zapier.
Getting this right has a massive impact on the customer experience. In the UK, customer satisfaction has reached an all-time high, partly because more issues are resolved correctly the first time. Interestingly, 26% of UK customers use more than one channel to contact a business, which really shows the value of having a centralised, organised system like this one. You can read more about these trends in the latest UK Customer Satisfaction Index report.
Pro Tip: When mapping the email body, always choose the 'Body Plain' option over 'Body HTML'. This strips out messy formatting, signatures, and images, giving you a clean, readable text block in your Notion ticket. It makes a world of difference.
Once you’ve mapped all the fields, run a quick test to make sure data is flowing correctly. If everything looks good, turn on your Zap.
Congratulations—you've just built an automated pipeline that ensures no customer query ever falls through the cracks again.
Right, so you've built the basic pipeline. Every support email is now being neatly captured and organised in Notion, which is a great first step. But now for the really clever part: adding a layer of intelligence.
This is where we move beyond just logging data and start using AI to understand, sort, and even start tackling customer queries before a human ever sees them.
We're going to slot a new step into our Zap, right between the Gmail trigger and the final Notion action. This new step will talk to an AI tool – something like OpenAI's ChatGPT works perfectly – and get it to do the heavy lifting on the raw email text. The aim here is simple: to give you a massive head start on every single ticket.
First things first, we'll get the AI to act as our front-line triaging assistant. We can feed it the body of an incoming email and give it a carefully written prompt telling it exactly what to do. Think of the prompt as a set of instructions for your new digital team member.
Here’s a practical look at what we can ask the AI to figure out for us:
Billing, Technical, or Feedback. This is brilliant because it can automatically populate the 'Query Type' field in your Notion ticket.Positive, Neutral, or Negative. This is incredibly useful for spotting unhappy customers and bumping them to the top of the queue.By telling the AI to return this info in a structured format (a simple list is fine), you make it dead easy to map each piece of data to the right field in your Notion database. If you're curious about how sophisticated this can get, it's worth exploring the capabilities of newer models like ChatGPT-5 and its UK business use cases.
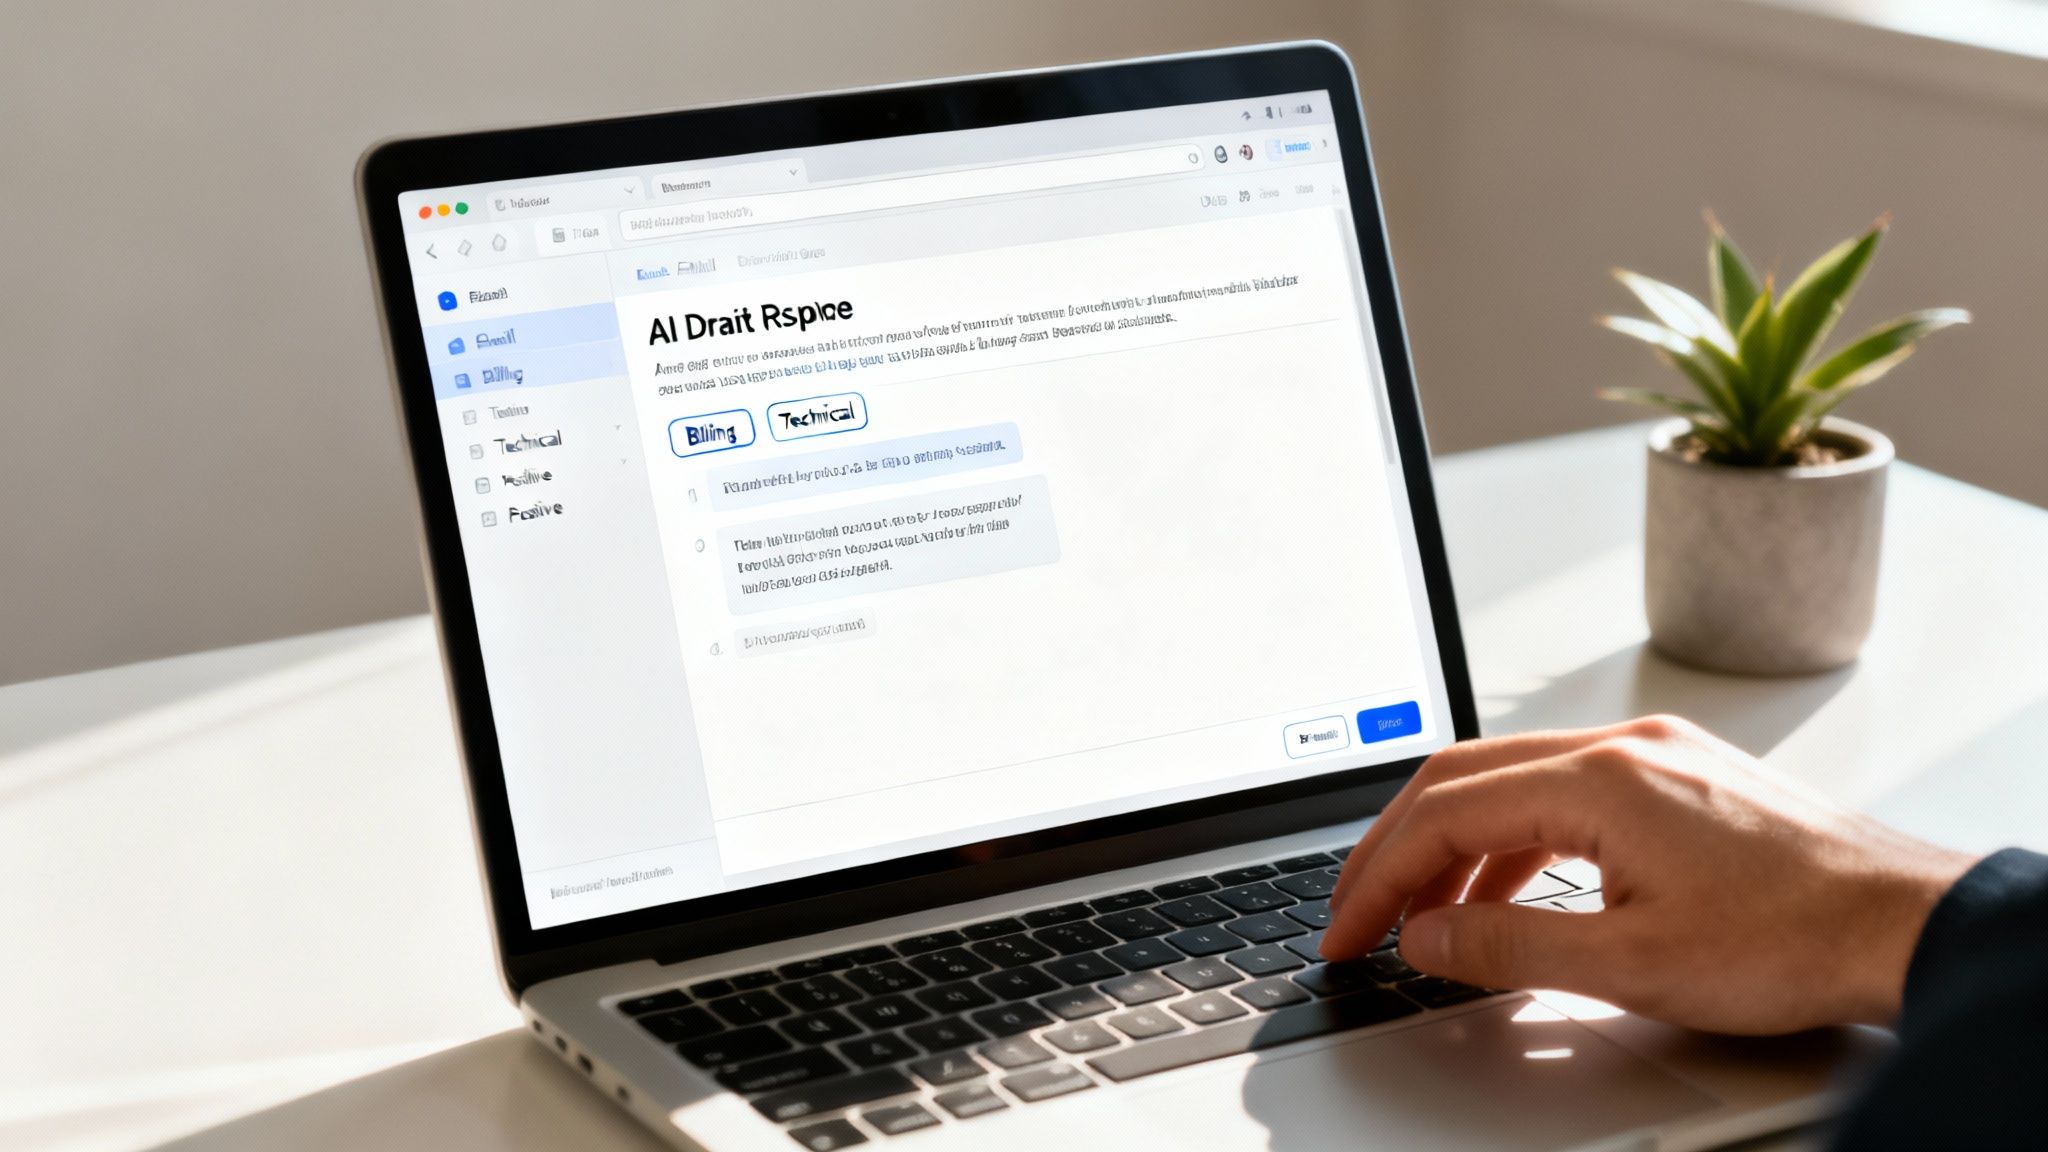
Triaging is one thing, but the AI can also prepare a solid first draft of a reply. This is an absolute game-changer for your team's efficiency.
In the same prompt, you can instruct the AI to write a helpful and empathetic response based on its understanding of the customer's email. You then map this AI-generated text to a new field in your Notion ticket called ‘Draft Response’.
The key here is that this draft is not sent automatically. It simply sits in the Notion ticket, waiting for your review. You can quickly scan it, tweak it, add your own personal touch, and make sure it’s 100% correct before you even think about hitting send. You get the speed of AI combined with the essential empathy and oversight of a real person.
This 'human-in-the-loop' approach is particularly important. Even with all the tech available, research shows 61% of UK consumers still prefer talking to a human over a chatbot, and getting a timely response is a huge deal.
This system hits that sweet spot perfectly. It uses AI to do the groundwork fast, but ensures the final communication is always personal, accurate, and approved by you. To get a better sense of where things are heading, check out these insights on UK customer service expectations in 2025.
Setting up your own AI helpdesk with Notion, Gmail, and Zapier is a game-changer, but it’s completely normal to have questions before you fully commit. Let's tackle some of the most common ones I hear, so you can move forward with confidence. This isn’t just about the technical bits; it’s about understanding how this system can genuinely support your business as it grows.
One of the first things people ask is about longevity. Will it fall over when your startup really starts to fly?
Absolutely. The whole setup is designed to scale right alongside you. Notion databases are incredibly robust and can comfortably handle thousands upon thousands of entries without breaking a sweat. You won't outgrow it anytime soon.
Your main bottleneck, if you can even call it that, will be your Zapier plan. The free tier is perfect for getting your feet wet, giving you up to 100 tasks a month, which is more than enough for most new businesses. As your ticket volume increases, you simply upgrade your plan to handle thousands of monthly tickets. It’s a system that truly grows with your business, not against it.
This is one of the best parts of this whole process: you can build and launch the entire thing for £0.
Notion, Gmail, and Zapier all offer generous free plans that are more than enough to stand up a professional AI helpdesk. Your only real investment is a single afternoon of your time to piece it all together.
Of course, as your business gets bigger, you might decide to upgrade to paid plans for more advanced features. But you can provide brilliant customer support from day one without spending a single penny. It’s a powerful, budget-friendly solution that’s perfect for any new venture trying to stay lean.
This setup isn't a rigid, one-size-fits-all solution. It's incredibly flexible and practically begs to be tailored to your unique workflow.
Here are a few ideas to get you started:
The possibilities are nearly endless. If you have a specific customisation in mind or need a bit of expert advice on tailoring this system, you can always get in touch with our team for guidance.
Ready to transform your startup's financial management with the same tech-forward approach? GenTax Accountants can help. Visit us at https://www.gentax.uk to see how we make accounting effortless.
